Shipment projects
Shipment projects
Shipment projects are a group of shipments, typically for an event. A project lets you group shipments by inbound and outbound. Projects allow you to chain shipments. A shipment outbound in project A can be inbound in project B. The link to the project will always be visible in the shipment page link section and allows you to navigate between the project and shipments quickly.
workflow
In order to create a project with shipments, the following steps should be followed:
Create a project (select project code from the list)
enter project master data
go to inbound or outbound tab
click "add shipment" in the footer
create a new shipment or select an existing shipment (that is already a project shipment)
... repeat
manage shipments
archive the project
Viewing my projects
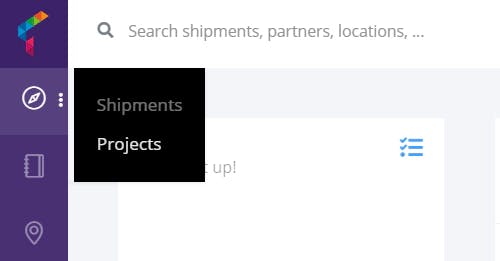
In the left menu click on shipments > projects
Your overview will bring you to the different projects:
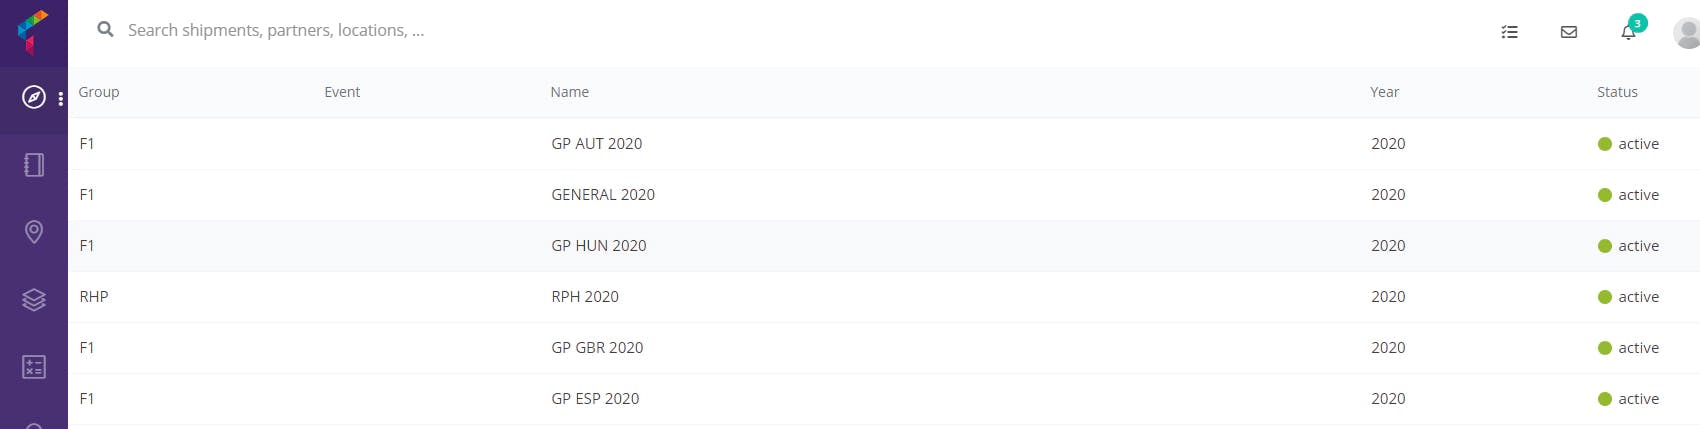
clicking on a project will bring you right in the detail screen:
Creating a project
In the project overview, click on the create button.

a modal opens to ask for type and title.
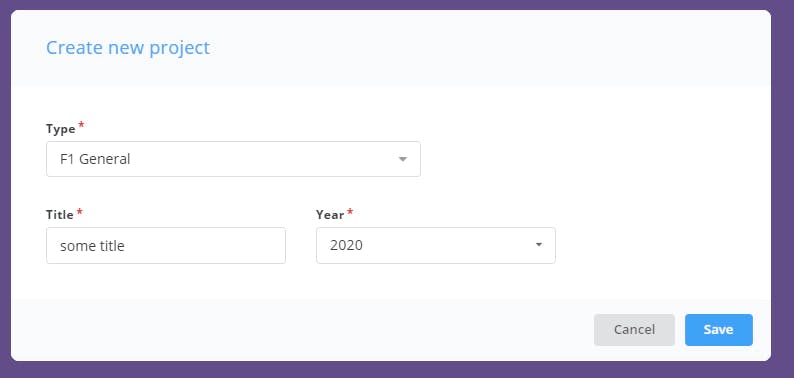
no values in the selection fields? - see "configuring projects" for more information
The creating user is automatically assigned as planner in the project.
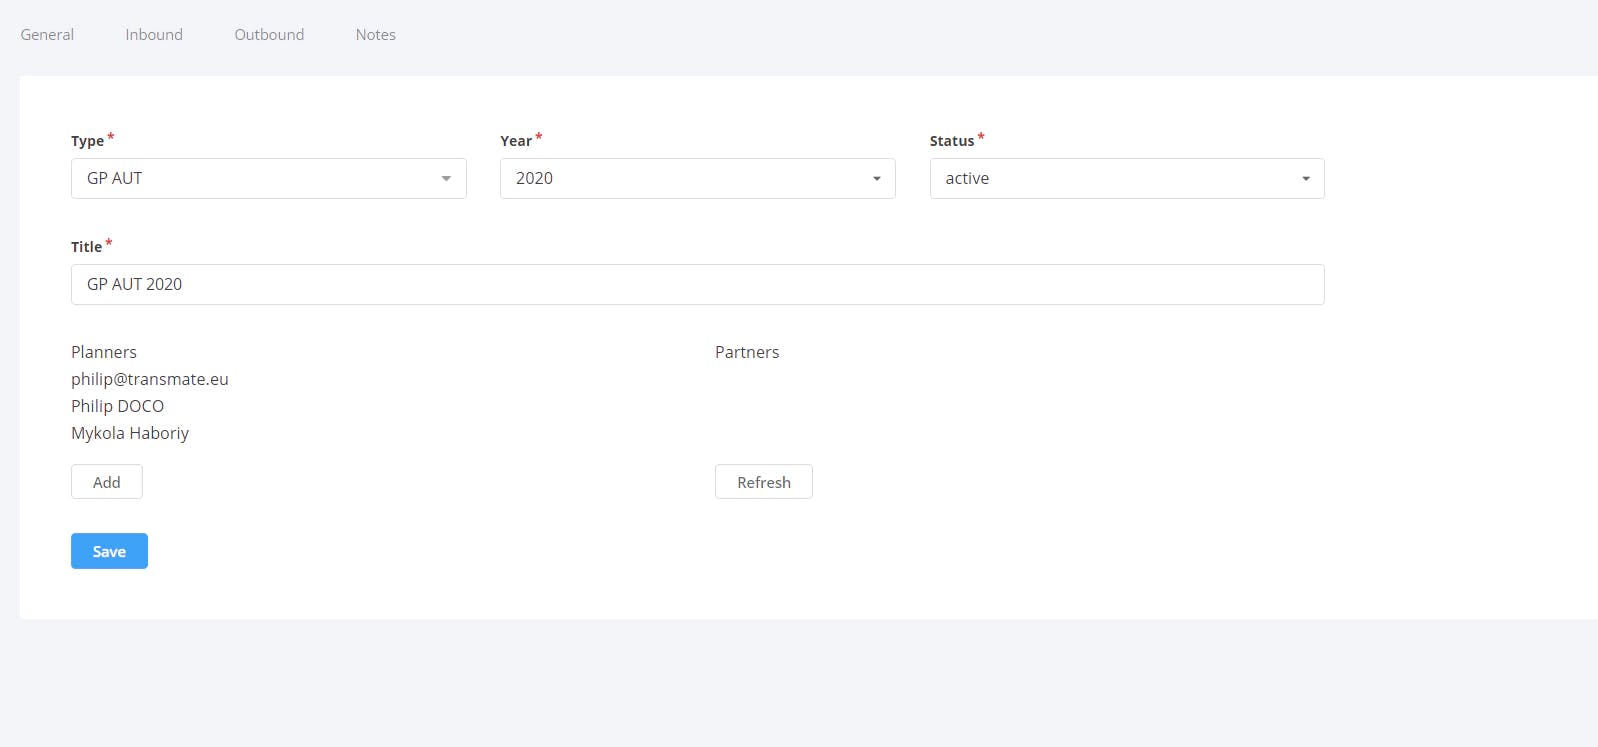
Assigning planners and partners
To give people inside and outside your organization access to the project dashboard or shipments, you will need to set the planners (that is users of your own organization) and partners (account that will get access to the dashboard).
Add a planner by clicking the add button and select the user from your organization.
Partners are added automatically after hitting the refresh button. All shipments tied to the project are being scanned and consignee, shippers and carriers will be added to the partner list. The assigned partners will get access to the project dashboard (see access section).
Project Dashboard
The project dashboard consists of the following tabs:
General - giving general data of the project
Inbound (all shipments inbound to the project)
Outbound (all shipments outbound of the project)
Notes
An inbound or outbound tab looks like:
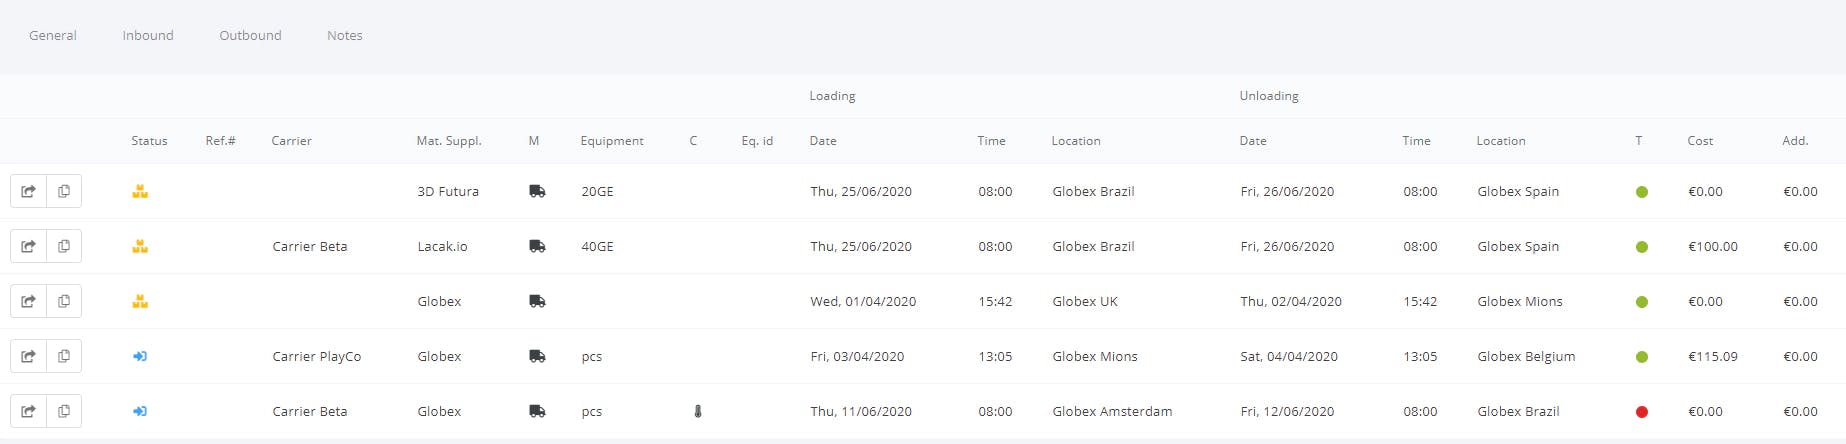
Each shipments is represented by a single line and shows pickup and delivery locations, time and costs. Clicking on the arrow icon in the left will bring you to the shipment page.
note: costs are only visible to the project owner
Adding shipments to a project
After creating a project or in a given project, shipments can be added. To add a shipment, go to an inbound or outbound tab. Important - the shipment will be generated in the inbound or outbound tab accordingly.
option 1: from modal (footer)
option 2: by copying an existing shipment in the overview
In the footer menu, click on the "Add new" button. This will show a modal:
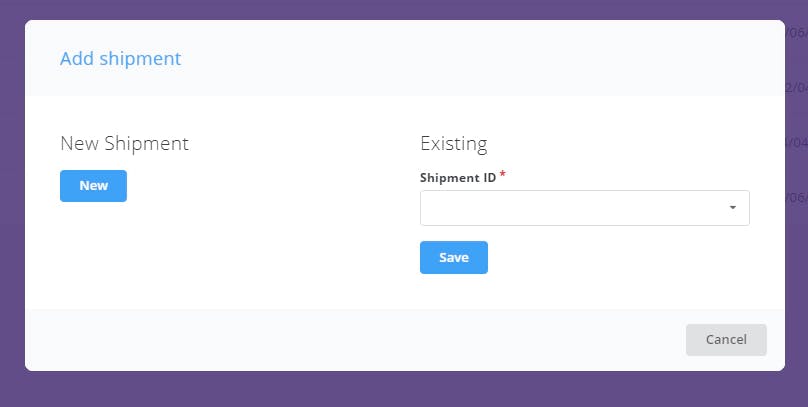
There are 2 options when creating a shipment in the modal:
Either a blank shipment is created
Either an existing shipment is linked to the project
When selecting an existing shipment, bear in mind that:
only shipments that are linked to an existing project can be selected (This allows chaining of shipments)
outbound in project A can be inbound in project B
a shipment can't be linked to multiple inbounds or outbounds
When starting from e.g. the inbound tab, the existing shipments will only show outbound shipment that are not linked to any inbound tab yet
When copying a shipment in the overview (by clicking on the copy icon), a new shipment will be created copying over all the data (and link) of the original shipment, except for costs and references. This allows you to quickly create large projects with similar shipments.
Access rights projects
Who can create projects
accounts with project features
users with shipment creation type role (planners, admin, ...)
Who can edit projects?
users that are assigned as planner on the project (the user that creates the project is set as planner automatically)
Who can view projects?
owner account - everyone
partner account (account that is assigned in a shipment)
Which shipments are visible to my partners?
when partners have access to the project page, only their shipments will be visible (the list is filtered to only show their shipments). Important note: the owner can see shipments that are in any status, but partners can only see the shipments beyond the draft status. That means that the shipment should at least be in status "planned" to be visible for them.
In the shipment overview of the partners (so not the project page itself) all assigned shipments will be visible (again once in "planned" status)
My partner can't see the project page, how is that possible?
Only accounts that are listed as partner (in the general tab) will get access. You will need to refresh the list manually to refresh the partners that can have access to the project page. When the partners array is empty, nobody will have access to the project page. Partners will always have access to the individual shipments (in the shipment overview), just not in the project dashboard.
Configuring projects
No access to shipment projects? - your account might not have access or you as a user might not have the right access level. Ask Transmate support for more information.
setting up project codes and master data
go to settings > data settings > master data > projects.
(note - only an admin can do this)
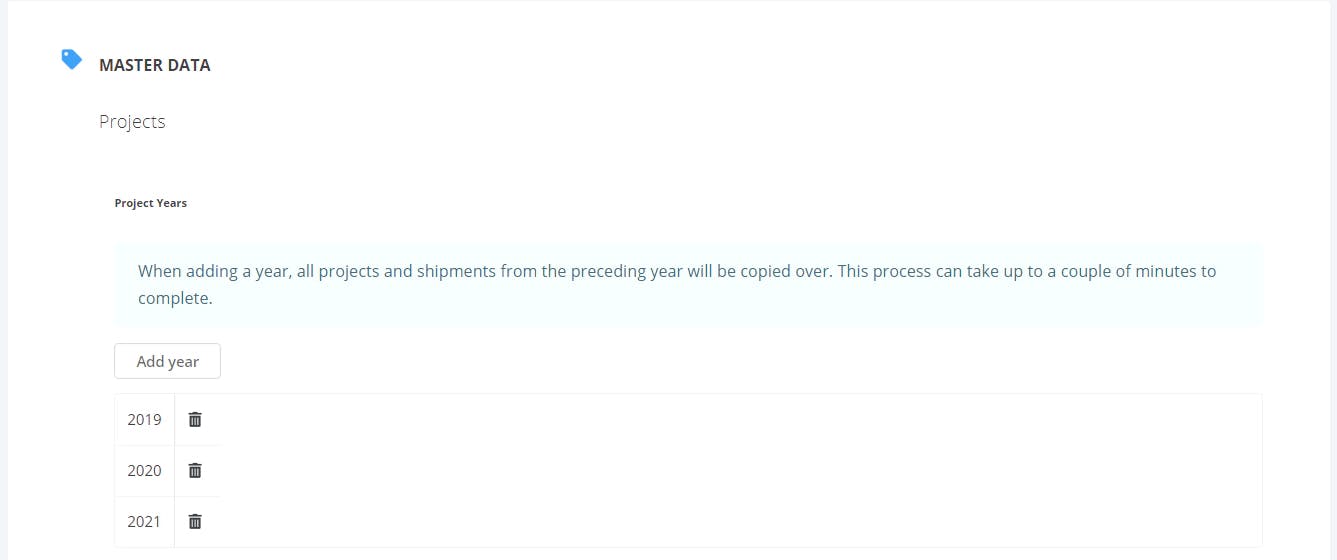
Adding a new project year can be done by clicking the add year button. This will generate a new year and optionally copy over the previous year's shipments
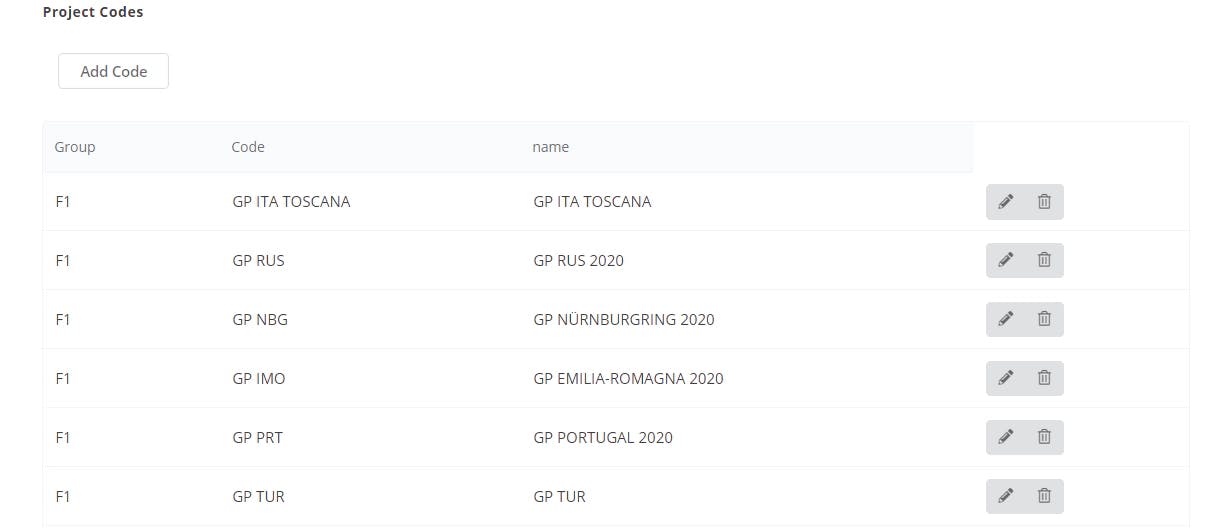
click on add code to add different project codes. Projects are grouped using a group field. A code must be unique for the project type. Once the codes are set up, they will be visible in the project dashboard.
Removing shipment projects
You can remove shipment projects using the following steps:
Go to shipment > shipment-project
access the project that you want to remove
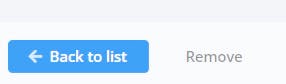
in the footer, click the remove button
a confirm modal appears
confirm
look for the remove button in the footer:
A modal appears:
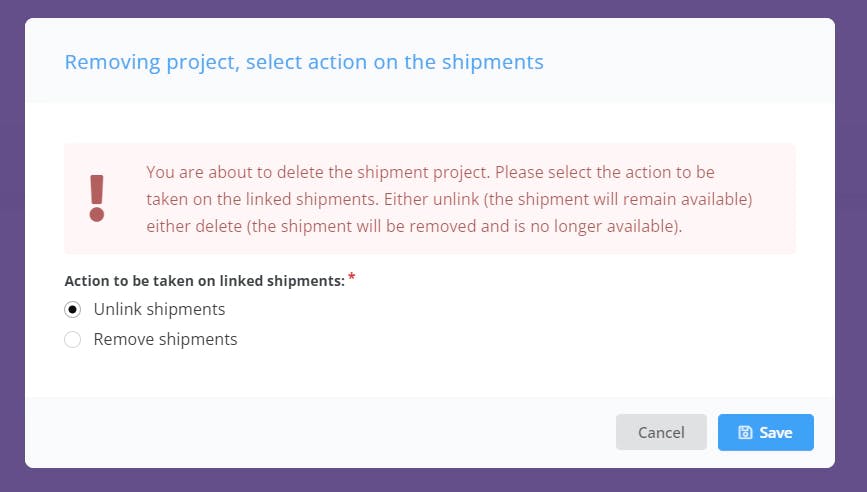
You can choose between:
unlinking shipments: shipments will remain available in Transmate, but are detached from the project
remove shipments: shipments will be removed from Transmate and are no longer available
You will be redirected to the overview screen again after removing
note that the link for the project will still be working, but the project will be locked out.
Troubleshooting:
The remove button is unavailable.
This means you do not have the necessary rights. You need to be an account admin in order to be able to remove a project.